I am the author of Implementing In-app Purchases on iOS and eight other courses on Pluralsight.
Deepen your understanding by watching the course!
Preparing to Test Receipt Validation for iOS
After having to piece together each step along the path of preparing to test receipt validation for iOS apps, I’ve decided to combine everything into the following guide. Whether you’re working to implement receipt validation for a new iOS app, or for an existing one, this walk-through should provide guidance to get you ready to work with receipts in your iOS application.
iTunes Connect App Record Setup
1 – Log in to the Apple Developer Member Center.
2 – Make sure you have a bundle identifier set up for your app.
If this is an existing app you’re wanting to add receipt validation to, you’re already set. If this is a brand new, un-released app, you need to set up a bundle identifier first.
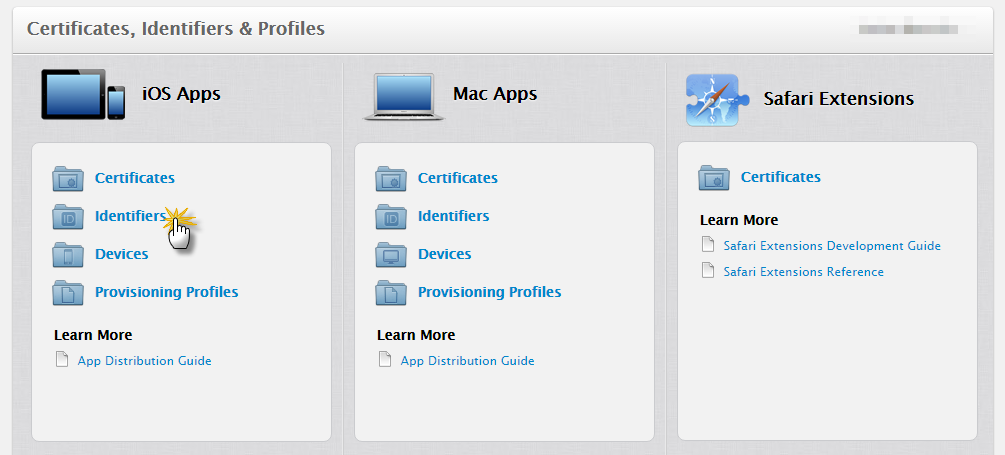
2a) Click on Certificates, Identifiers & Profiles:

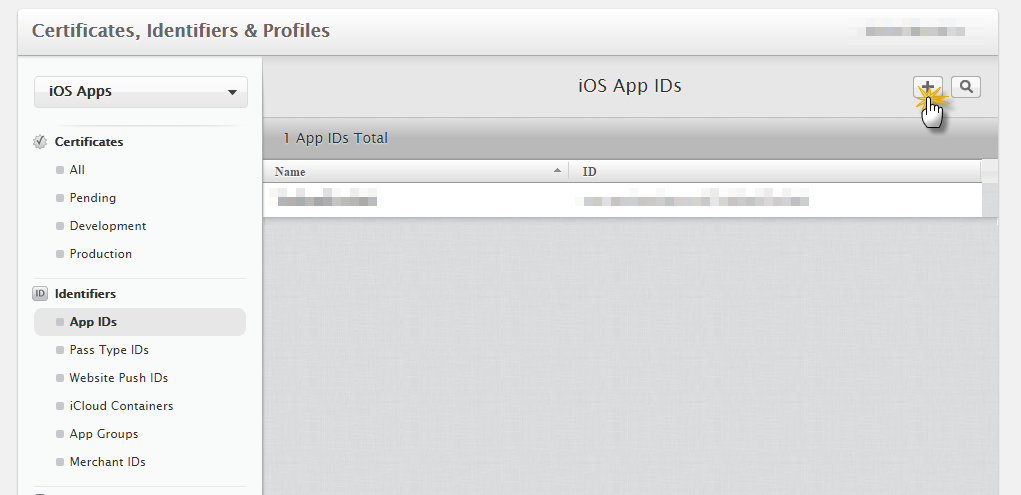
2c) Add a new App ID that’s appropriate for your app:
3 – Log into iTunes Connect.
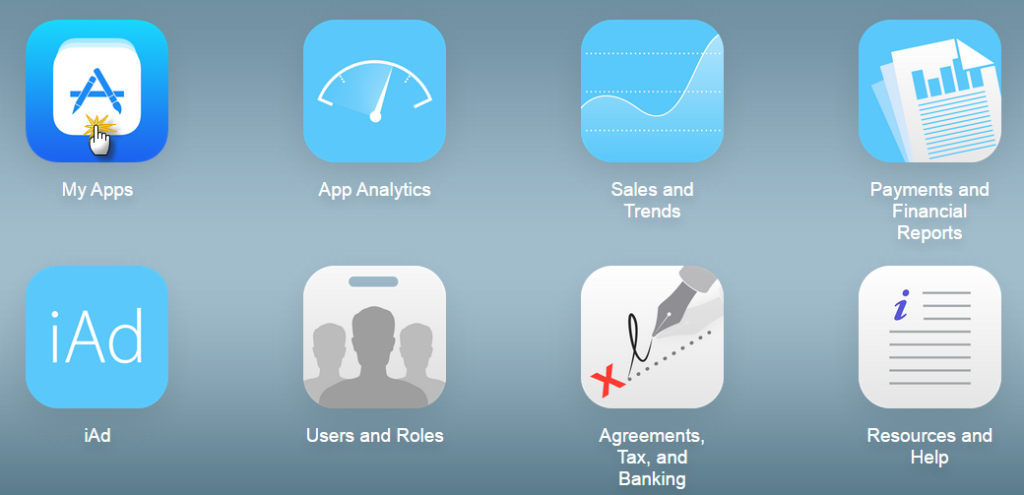
4 – Click “My Apps” from the main iTunes Connect dashboard page.
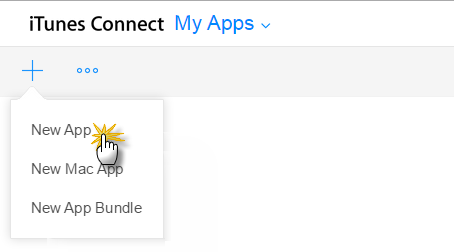
5 – Click the + button to add your app into iTunes Connect.
Sandbox Tester Setup
1 – Create a new e-mail address that’s not associated with an Apple ID already
Your sandbox user account is actually going to be a separate Apple ID. Since it’s probably going to be you that’s testing the purchasing and receipt features of your app, you will need to create a new e-mail address to associate with a new Apple ID, since Apple does not allow you to use an e-mail address already associated with an existing Apple ID.
2 – Log in to iTunes Connect if you’re not still logged in from the previous steps
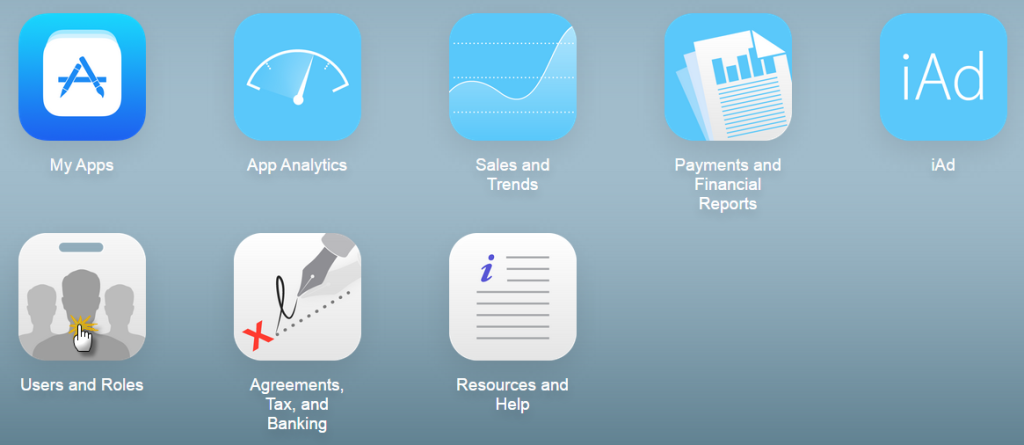
3 – Click on Users and Roles
4 – Click Sandbox Testers
5 – Click the Add (+) button
6 – Fill out all of the information on this page, and use the new e-mail address you created as the Email field value.
7 – Save the new sandbox user.
8 – You will receive an e-mail from Apple asking you to verify your new Apple ID. Verify it.
iOS Device Setup
1 – On your physical device (not in the Simulator), open Settings and navigate to “App and iTunes Stores”.
2 – Sign out of your regular Apple ID, but do not re-sign in using your new Sandbox Tester Apple ID that you just set up. Doing this will pose the risk of invalidating your Sandbox User test account. This is explained over in the Apple Developer documentation:
Important: If you mistakenly use a sandbox tester account to log in to a production environment on your test device instead of your test environment, the sandbox account becomes invalid and can’t be used again. If this happens, create a new sandbox tester account with a new email address.
Later on, when you run your app on your device from Xcode, you’ll get a prompt to sign in to the fake App Store. You’ll enter the credentials you created for the Sandbox User test account into the prompt.
Note: Ideally, this step is done on an iOS test device, not on your own personal device. That being said, there are times (like in my own situation) where you might not have a test device and you’re forced to switch between Apple IDs to test.
3 – Go through the necessary steps to set up a new iTunes Store account. You’ll receive a “Welcome” e-mail from the iTunes Store once everything is completely set up.
Write Some Receipt Verification Code
As a quick example, consider the following class that will act as a ReceiptFetcher. To test things out, you can simply create an instance of this class in your primary view controller, and call fetchReceipt in the viewDidLoad() method.
You’ll be looking to make sure you’re prompted for iTunes Store credentials, and that you successfully receive a receipt (ie, request(_:didFailWithError:) did not get called, but instead requestDidFinish(_:) got called):
Receipt Fetcher
|
|
View Controller
|
|
Note: Once again, note that the instance of ReceiptFetcher is held at the view controller’s class-level scope. This is necessary to allow the delegate callback functions to be invoked. If you initialize the ReceiptFetcher in viewDidLoad without holding a reference at the class level, the instance will be deallocated prior to the delegate callback functions being invoked.
Debug App on Device
1 – Run your app from Xcode on the device you’ve just set up.
2 – Executing code, such as a request to refresh a receipt should prompt you for your newly created Sandbox Tester credentials.
3 – Enter the password for that Apple ID – you should receive a receipt!
- Loading a Receipt for Validation with Swift
- OpenSSL for iOS & Swift the Easy Way
- Extracting a PKCS7 Container for Receipt Validation with Swift
- Receipt Validation – Verifying a Receipt Signature in Swift
- Receipt Validation – Parse and Decode a Receipt with Swift
- Finalizing Receipt Validation in Swift – Computing a GUID Hash
